OAuth2客户端的配置参数非常多,虽然Id Server通过控制台可视化解决了创建OAuth2客户端的问题。但是如何进一步降低OAuth2的使用难度,把创建的OAuth2客户端转化为配置成为了刚需,从技术角度上感觉也并不是很难实现。
我们先来看看最终效果,点击配置生成按钮即可直接生成Spring Security的客户端yaml配置:

这个效果是如何实现的呢?
highlightjs
主要依托于highlightjs这个代码高亮库,平常我们在各大技术社区看到的五颜六色的代码块很多就依赖这个JS库,连我自己的技术博客felord.cn都用了这个类库来做代码片段美化。它使用起来很简单:
<!DOCTYPE html> <html lang="en"> <head> <meta charset="UTF-8"> <title>Title</title> <link rel="stylesheet" href="https://felord.cn/css/gruvbox-dark.min.css"> <script src="//cdnjs.cloudflare.com/ajax/libs/highlight.js/11.5.1/highlight.min.js"></script> <script>hljs.initHighlightingOnLoad();</script> </head> <body> <pre > <code class="yaml"> spring: #
        application: name: id-server </code> </pre> </body> </html>
- 1.
- 2.
- 3.
- 4.
- 5.
- 6.
- 7.
- 8.
- 9.
- 10.
- 11.
- 12.
- 13.
- 14.
- 15.
- 16.
- 17.
- 18.
- 19.
- 20.
- 21.
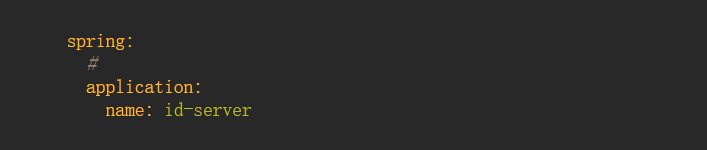
引入一个风格样式和highlight.js库,再加一个初始化脚本就完成了。然后在<pre><code>中编写带缩进的代码就可以了,注意code标签要加上对应语言或者脚本的class类,出来就是这样的效果:
实现
到这里思路就很明确了,把参数项的值动态化就可以了,我期望达到这样的效果:
<pre > <code class="yaml"> spring: #
        application: name: ${appName} </code> </pre>
- 1.
- 2.
- 3.
- 4.
- 5.
- 6.
- 7.
- 8.
但事实上我大意了,我用了thymeleaf模板,我没有找到thymeleaf可以固化配置项到页面的办法,所以这个带缩进的格式需要后端生成,然后按照thymeleaf的要求渲染,于是我写了一个非常复杂的方法:
@GetMapping("/system/client/yaml/{id}") public String yaml(Model model, @PathVariable String id) { OAuth2Client oauth2Client = clientRepository.findClientById(id); String clientName = oauth2Client.getClientName(); String clientId = oauth2Client.getClientId(); Set<RedirectUri> redirectUris = oauth2Client.getRedirectUris(); String uris = redirectUris.stream() .map(RedirectUri::getRedirectUri) .collect(Collectors.joining(",")); Set<OAuth2GrantType> authorizationGrantTypes = oauth2Client.getAuthorizationGrantTypes(); String types = authorizationGrantTypes.stream() .map(OAuth2GrantType::getGrantTypeName) .collect(Collectors.joining(",")); String method = oauth2Client.getClientAuthenticationMethods().stream() .map(ClientAuthMethod::getClientAuthenticationMethod) .collect(Collectors.joining(",")); String scopes = Stream.concat( oauth2Client.getScopes().stream() .map(OAuth2Scope::getScope), Stream.of(OidcScopes.OPENID)) .collect(Collectors.joining(",")); LinkedHashMap<String, Object> client = new LinkedHashMap<>(); LinkedHashMap<String, Object> clientRegistration = new LinkedHashMap<>(); clientRegistration.put("client-id", clientId); clientRegistration.put("client-secret", "请填写你的OAuth2客户端密码"); clientRegistration.put("redirect-uri", "请从" + uris + "指定一个"); clientRegistration.put("authorization-grant-type", "请从 " + types + " 指定一个"); clientRegistration.put("client-authentication-method", method); clientRegistration.put("scope", scopes); client.put("registration", Collections.singletonMap(clientName, clientRegistration)); client.put("provider", Collections.singletonMap(clientName, Collections.singletonMap("issuer-uri", "http://localhost:9000"))); Map<String, Object> spring = Collections.singletonMap("spring", Collections.singletonMap("security", Collections.singletonMap("oauth2", Collections.singletonMap("client", client)))); DumperOptions dumperOptions = new DumperOptions(); dumperOptions.setDefaultFlowStyle(DumperOptions.FlowStyle.BLOCK); Yaml yaml = new Yaml(dumperOptions); String dump = yaml.dump(spring); model.addAttribute("yaml", dump); return "/system/client/yaml"; }
- 1.
- 2.
- 3.
- 4.
- 5.
- 6.
- 7.
- 8.
- 9.
- 10.
- 11.
- 12.
- 13.
- 14.
- 15.
- 16.
- 17.
- 18.
- 19.
- 20.
- 21.
- 22.
- 23.
- 24.
- 25.
- 26.
- 27.
- 28.
- 29.
- 30.
- 31.
- 32.
- 33.
- 34.
- 35.
- 36.
- 37.
- 38.
- 39.
- 40.
- 41.
- 42.
- 43.
- 44.
- 45.
- 46.
- 47.
- 48.
- 49.
效果自然是有的,但是非常差强人意。
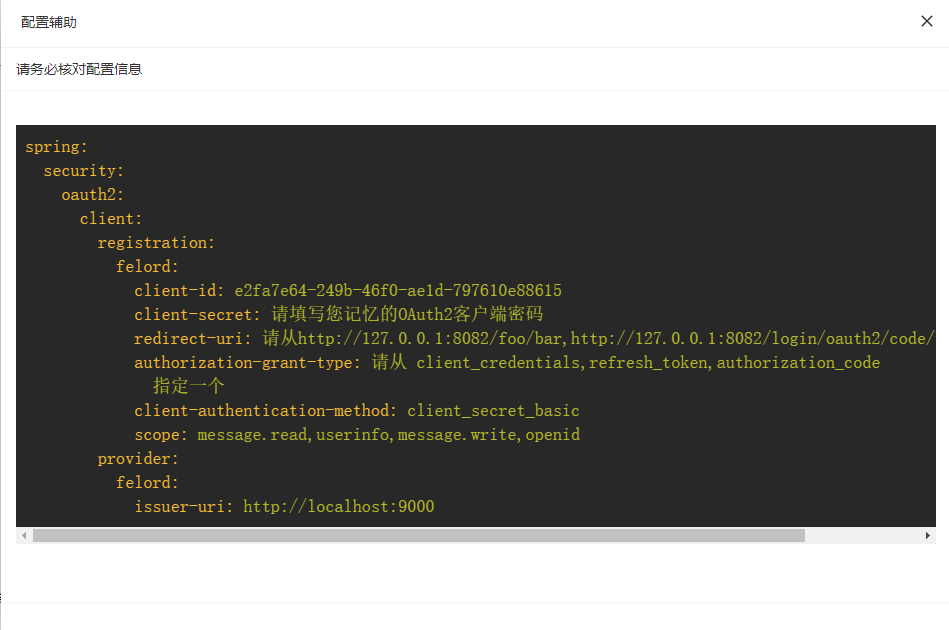
无法生成注释,而且换行不受控制,尤其套了9个Map让我抓狂。
优化
是不是我把问题想得太复杂了呢?于是最终我把yaml的格式模板这样做了:
String yml = "spring:\n" + " security:\n" + " oauth2:\n" + " client:\n" + " registration:\n" + " # 这里为客户端名称可自行更改\n" + " " + clientName + ":\n" + " client-id: " + clientId + "\n" + " # 密码为注册客户端时的密码\n" + " client-secret: 请填写您记忆的OAuth2客户端密码\n" + " # 只能选择一个\n" + " redirect-uri: 请从" + uris + "指定一个\n" + " # 只能选择一个\n" + " authorization-grant-type: " + types + "三选一\n" + " client-authentication-method: " + method + "\n" + " scope: " + scopes + "\n" + " provider:\n" + " " + clientName + ":\n" + " # 要保证授权服务器地址可以被客户端访问\n" + " issuer-uri: http://localhost:9000"; model.addAttribute("yaml", yml);
- 1.
- 2.
- 3.
- 4.
- 5.
- 6.
- 7.
- 8.
- 9.
- 10.
- 11.
- 12.
- 13.
- 14.
- 15.
- 16.
- 17.
- 18.
- 19.
- 20.
- 21.
- 22.
- 23.
当然这是为了兼容Java8,如果换了Java17直接就用字符串模板了,甚至这里我还能写注释,最终的效果是这样的:
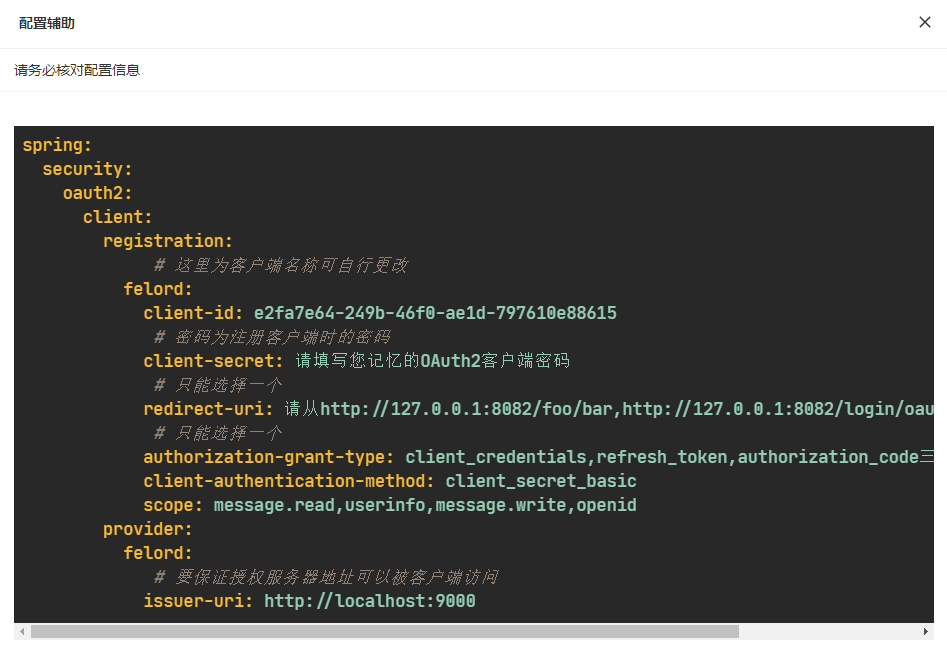
效果比上一个方案好了很多,当然或许你还有更好的方案,让我们集思广益。
关于Id Server
Id Server是一个基于Spring Authorization Server的开源的授权服务器,大大降低OAuth2授权服务器的学习使用难度,提供UI控制台,动态权限控制,方便OAuth2客户端管理,可以一键生成Spring Security配置,开箱即用,少量配置修改就可部署,代码开源,方便二次开发,支持OAuth2四种客户端认证方式和三种授权模式。